Frequently Asked Question
How-to flash a TI card and use a serial port widget
Last Updated 6 years ago
For flashing TI cards, it is necessary to do the following steps:
1)First is necessary to program the TMS320F2808 control card with the .out file provided here.To do so, you will also need an appropriate software tool, such as UniFlash (http://www.ti.com/tool/UNIFLASH).
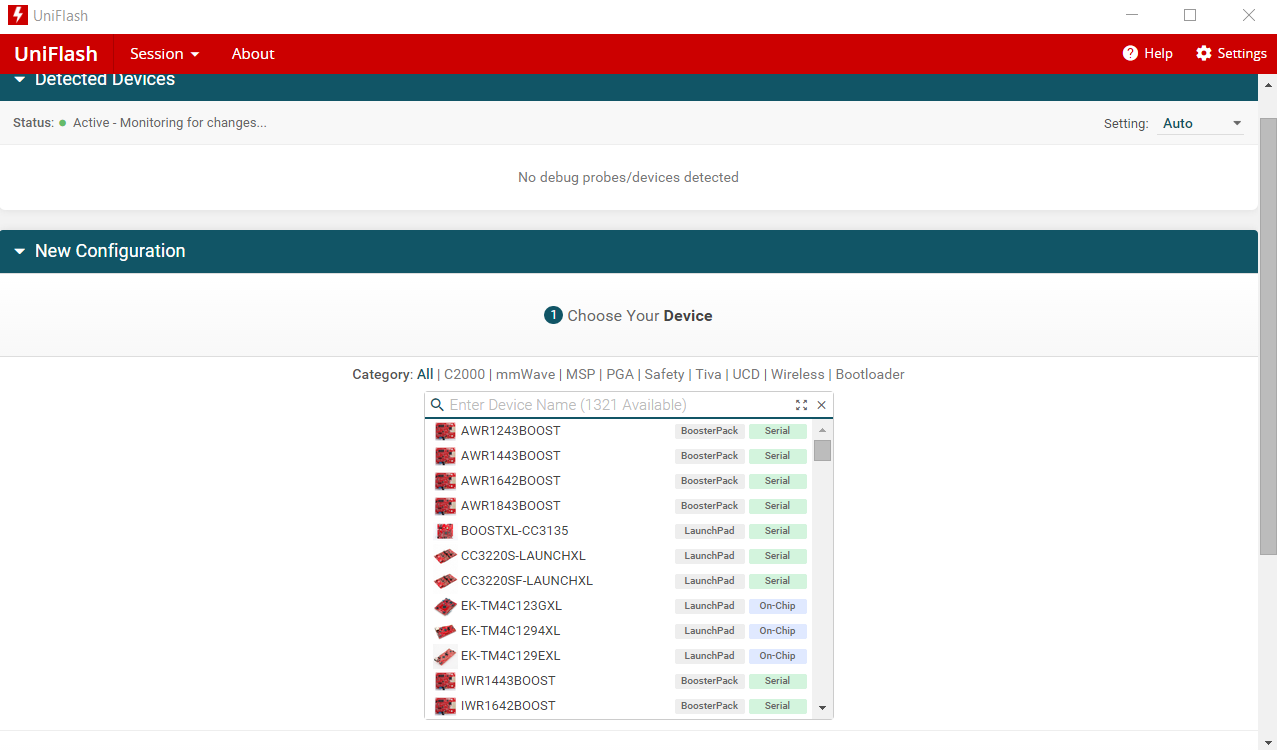
2)Choose which device you want to use.In Typhoon HIL examples, TMS320F2808 is the most commonly used device, but this procedure is virtually identical for other control cards.
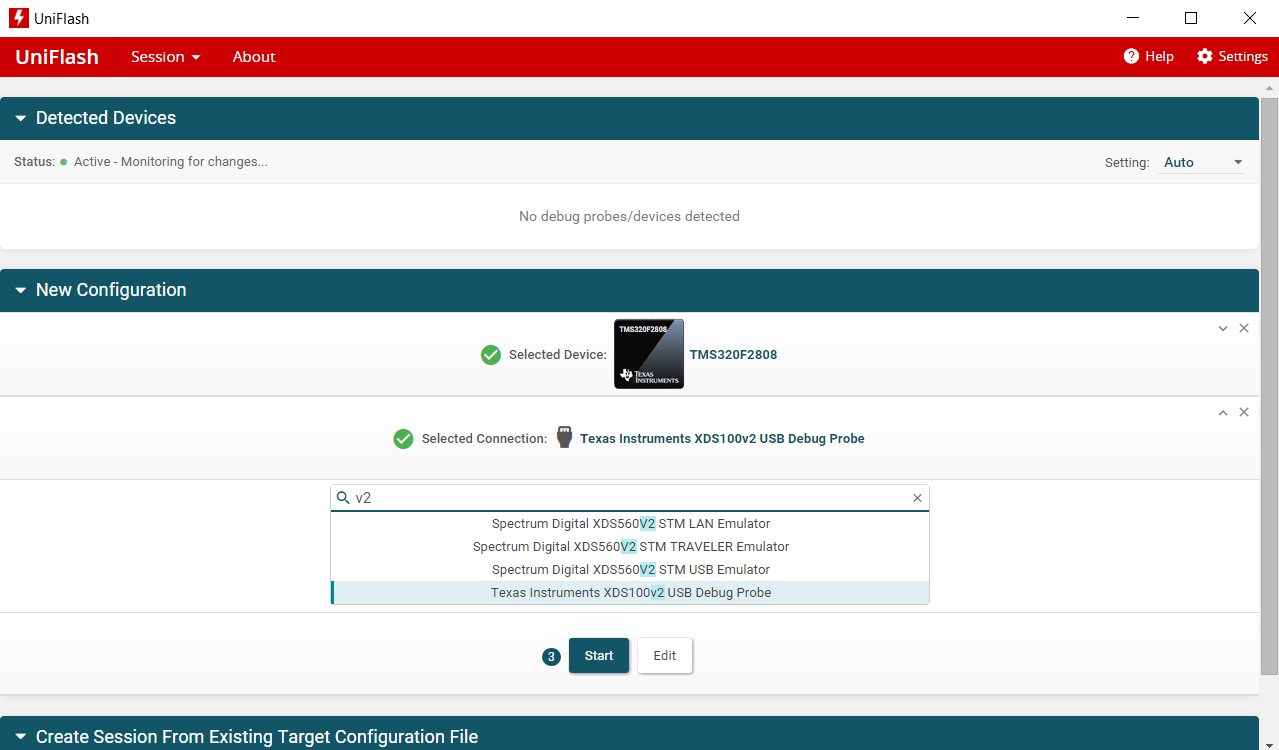
2) We must choose Texas Instruments XDS100v2 USB Debug Probe from the list of connections.
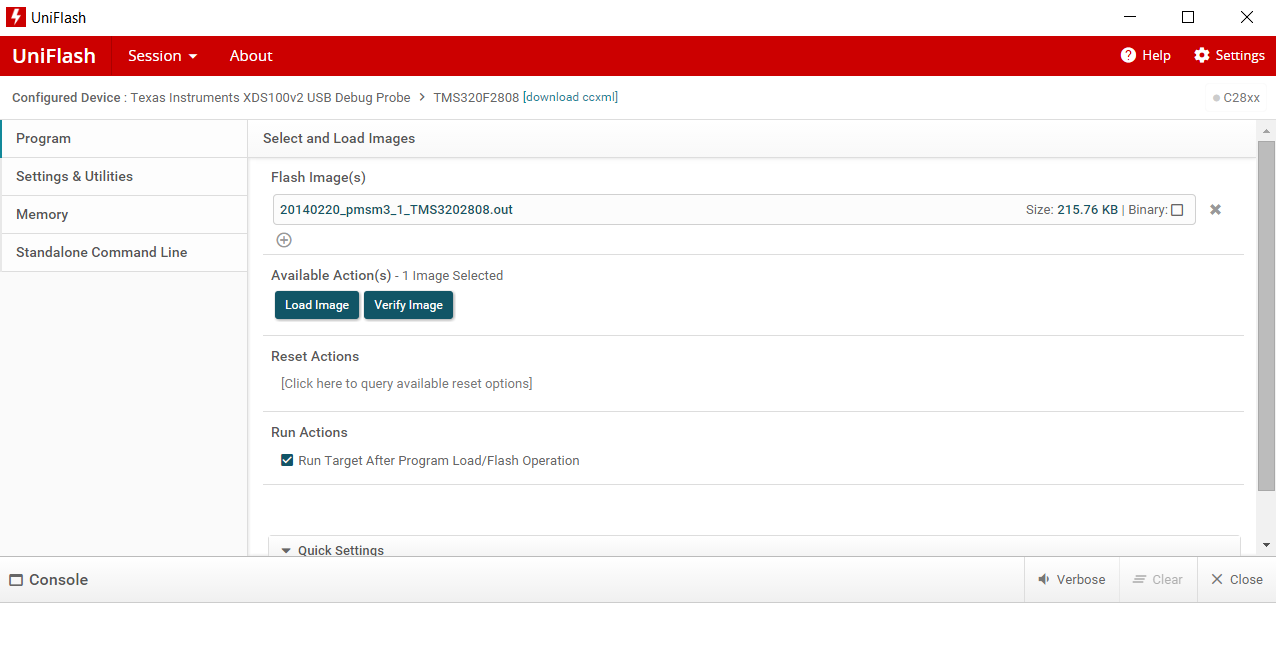
3) The final step in the flashing process is to select the appropriate .out file from the “\examples\models\hardware in the loop” folder and then click the Load Image button. Do not turn off your PC or disconnect the connection cable during the flashing process.
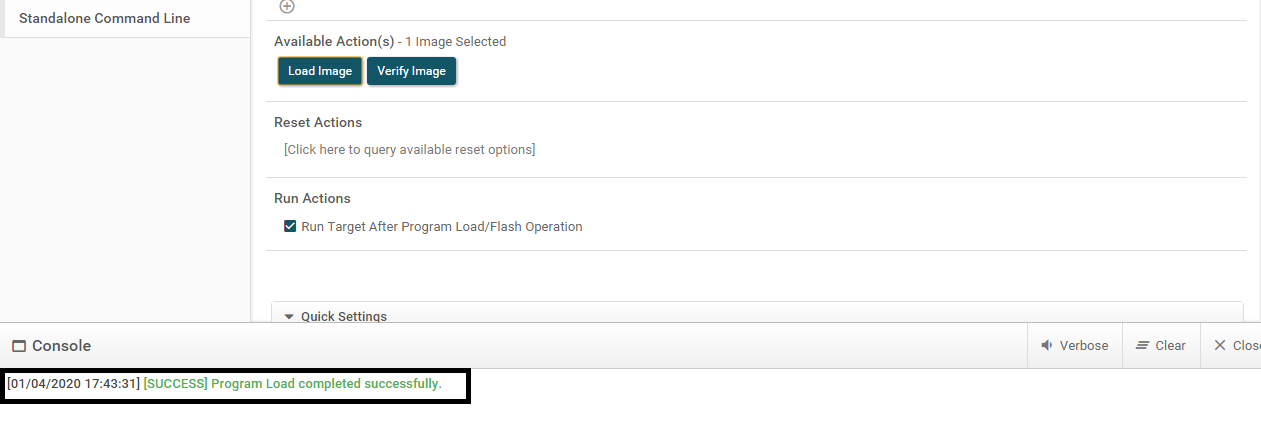
After successfully flashing the program to your TI card, you will see the following message in the console:[SUCCESS] Program Load completed successfully (shown in the figure below).
Serial port widget
Communication between the TI card and HIL SCADA is enabled by using the Serial port widget from the Connection widget group in HIL SCADA. Reference values from HILSCADA are sent through the serial connection to the TI card, which, in turn, sends the values further to HIL inputs. The Serial port widget consists of two part:
More details about the widget can be found here: https://www.typhoon-hil.com/documentation/typhoon-hil-api-documentation/serial_conn_widget.html.
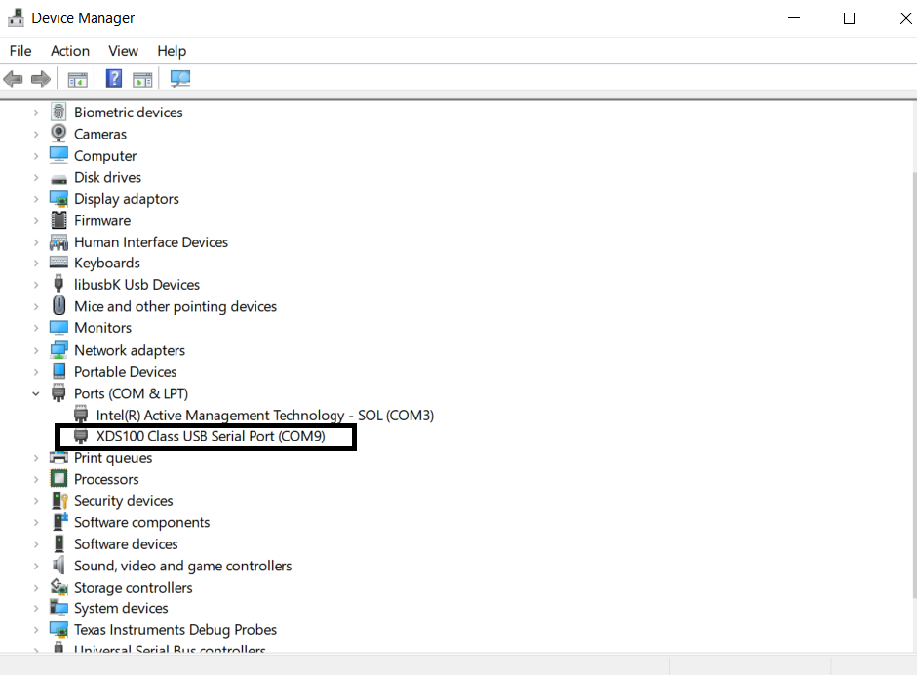
Before starting the simulation, it is necessary to first click the Connect button, choose the appropriate COM and then run the simulation.
1)First is necessary to program the TMS320F2808 control card with the .out file provided here.To do so, you will also need an appropriate software tool, such as UniFlash (http://www.ti.com/tool/UNIFLASH).
2)Choose which device you want to use.In Typhoon HIL examples, TMS320F2808 is the most commonly used device, but this procedure is virtually identical for other control cards.
2) We must choose Texas Instruments XDS100v2 USB Debug Probe from the list of connections.
3) The final step in the flashing process is to select the appropriate .out file from the “\examples\models\hardware in the loop” folder and then click the Load Image button. Do not turn off your PC or disconnect the connection cable during the flashing process.
After successfully flashing the program to your TI card, you will see the following message in the console:[SUCCESS] Program Load completed successfully (shown in the figure below).
Serial port widget
Communication between the TI card and HIL SCADA is enabled by using the Serial port widget from the Connection widget group in HIL SCADA. Reference values from HILSCADA are sent through the serial connection to the TI card, which, in turn, sends the values further to HIL inputs. The Serial port widget consists of two part:
- COM
- Connect/Disconnect
More details about the widget can be found here: https://www.typhoon-hil.com/documentation/typhoon-hil-api-documentation/serial_conn_widget.html.
Before starting the simulation, it is necessary to first click the Connect button, choose the appropriate COM and then run the simulation.
